Understanding the Fundamentals of a Flaky Crust
Delving into the science behind a flaky crust reveals its essential role in creating delectable desserts. A flaky crust, characterized by its distinct layers, adds delightful texture and a subtle crunchy counterpart to sweet fillings. Attaining this structure is an art that hinges on the careful selection and combination of ingredients, as well as precise handling.
The key ingredients for achieving a perfect flaky crust are simplicity itself: butter, flour, and salt. Butter, rich in fat, melts during baking, creating pockets of steam that contribute to those cherished flakey layers. Flour provides structure, while salt accentuates flavor. The interplay of these ingredients is vital, making the choice of each element critical for success.
Topic to read : Discover the Hidden Techniques for Achieving Flawlessly Crispy Homemade Cannoli Shells
Temperature plays a pivotal role in crust preparation. Cold butter is essential as it helps prevent greasiness, allowing for pockets that expand during cooking. Conversely, warm temperatures can lead to a tough crust. Thus, keeping dough chilled throughout the process assists in maintaining the butter’s integrity until baking. Understanding and mastering these elements ensures your pies will be remembered not just for their filling, but for the flaky, irresistible embrace of their perfectly crafted crust.
Selecting the Right Ingredients
Navigating through ingredient selection is crucial when crafting the ideal flaky crust. Each component plays a significant role in achieving culinary success.
This might interest you : Discover the Hidden Techniques for Achieving Flawlessly Crispy Homemade Cannoli Shells
Flour Varieties and Their Impacts
Choosing between all-purpose flour and pastry flour can influence your crust’s texture. All-purpose flour, with higher protein content, provides a sturdy structure, making it a versatile choice for many bakers. Conversely, pastry flour, with its lower protein, yields a tender crust, enhancing the flakiness when seeking a softer bite. Understanding these distinctions aids in deciding the texture you wish your crust to attain.
Butter: Quality and Temperature
The quality of butter is non-negotiable. Opting for high-quality, unsalted butter enhances flavour, allowing for better control over the pie’s overall saltiness. Temperature management is equally pivotal; cold butter forms optimal steam pockets during baking, vital for achieving those cherished flaky layers.
The Temperature’s Impact
Always utilise cold, fresh ingredients. Cold butter remains solid, creating air pockets needed for a light crust as it melts in the oven. A disciplined approach to chilling is central in maintaining dough structure, ultimately ensuring a consistently flaky pie crust.
Mastering Crust-Making Techniques
Creating a flawless flaky crust involves mastering several crust-making techniques, which transform simple ingredients into a culinary masterpiece.
Preparing the Dough
When aiming for that perfect flaky texture, preparation is everything. Begin by skillfully mixing butter and flour, ensuring the butter remains in discernibly small pieces. These chunks serve as future layers when baked, contributing to the desired flakiness.
Chilling as a Crucial Step
Chilling dough is an essential practice to prevent shrinkage and maintain structure. After preparing the dough, wrap it in plastic and refrigerate for at least 30 minutes. This process solidifies the butter, preserving the pockets of cold fat that create steam and, ultimately, a flaky layer.
Rolling Out the Dough
A deft touch is needed when rolling out dough. Begin by lightly flouring both the work surface and the rolling pin to avoid sticking. Roll from the centre outward, using gentle strokes to achieve even thickness. Incorporate air into the dough by lifting and turning it, helping achieve a flaky crust that’s both aesthetically pleasing and delicious.
Addressing Common Crust Challenges
When it comes to crafting the perfect flaky crust, common mishaps can pose significant challenges. Overworking the dough is a frequent mistake, often resulting in a dense, tough texture. To counteract this, mix ingredients just until combined, ensuring that butter pieces remain visible for maximum flakiness.
A soggy bottom crust can mar an otherwise perfect dessert, typically caused by excess moisture from fillings or insufficient baking time. Pre-baking, or blind baking, the crust can help solve this issue by creating a barrier before adding the filling. Additionally, a light dusting of flour or sugar on the crust before adding fillings can absorb extra moisture.
Dough consistency poses another problem; too dry dough may crack, while overly sticky dough can be difficult to handle. For dry dough, incorporate a small amount of ice-cold water incrementally until it achieves the right pliability. Conversely, if the dough is too sticky, gradual additions of flour can restore a workable texture.
By understanding these common pie crust issues, bakers can confidently approach these challenges, ensuring a more successful and thoroughly delightful baking experience.
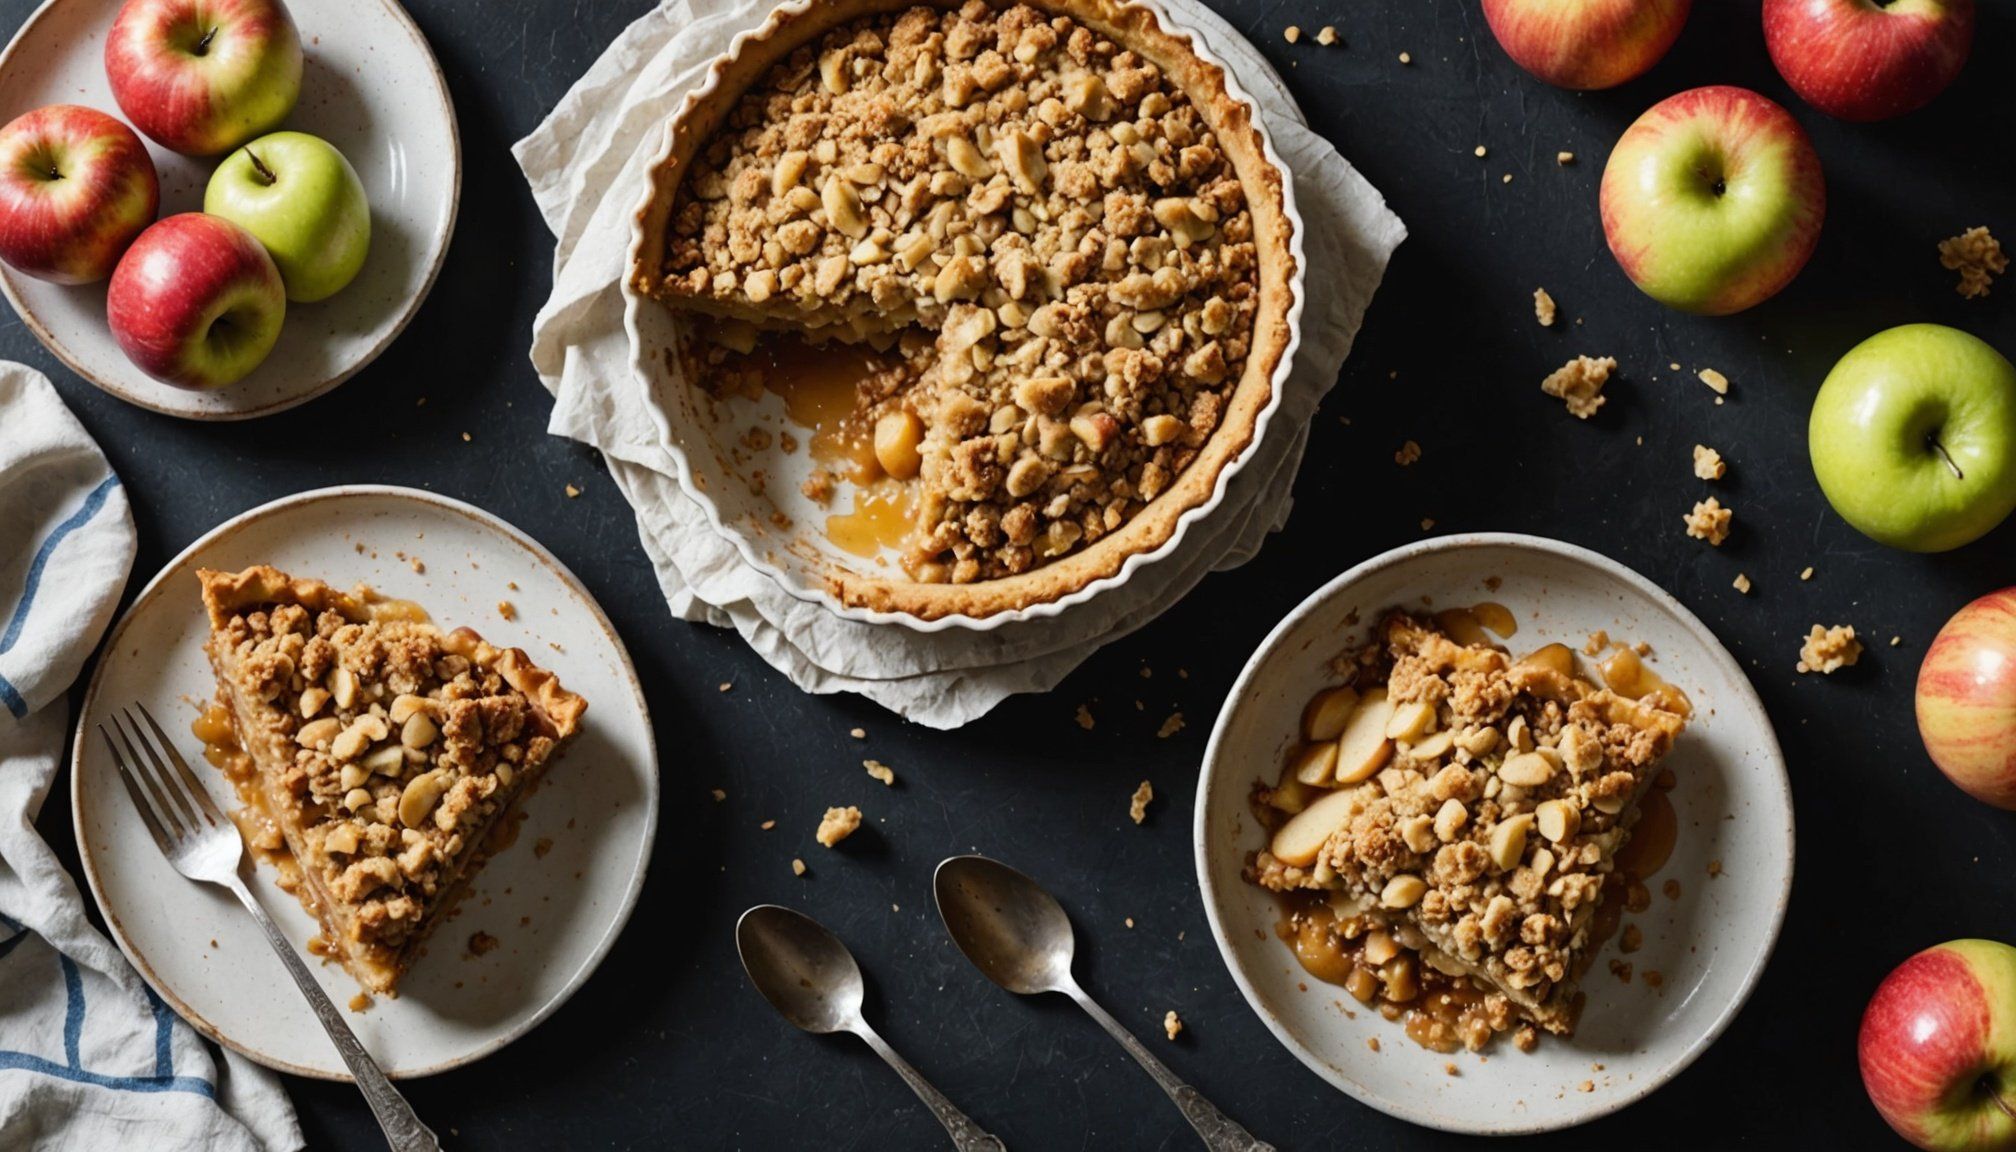
Traditional Apple Crumble Recipe
Apple crumble—a classic dessert staple—offers both comfort and delight. This traditional recipe balances sweet apples with a buttery, crumbly topping, making for a perfect treat.
Ingredients for the Crumble
To create the crumble, you’ll need:
- Crisp apples (4 medium-sized)
- Granulated sugar (100g)
- All-purpose flour (150g)
- Unsalted butter (100g), chilled and cubed
- Oats (50g)
- Ground cinnamon (optional)
Each ingredient plays a significant role in achieving a delectable texture. The apples, rich in moisture and tartness, provide a contrast to the sweet crumble. Using unsalted butter ensures flavour control, while the oats add a delightful crunch.
Step-by-Step Instructions
- Preheat the oven to 180°C (350°F).
- Peel and slice the apples, placing them in the baking dish.
- Add sugar and cinnamon to the apples, tossing gently.
- Combine flour, butter, and remaining sugar in a bowl until it resembles coarse crumbs.
- Mix in oats.
- Evenly distribute the topping over the apples.
- Bake for 35-40 minutes until golden.
Tips for Personalizing Your Crumble
Customize your crumble with spices like nutmeg or by incorporating berries. Experimenting with different fruits and toppings makes this dessert uniquely yours every time.
Visual Guides and Resources
When it comes to mastering the art of flaky crusts and refining your pie crust techniques, visual aids are invaluable. They demystify complex pastry preparation, providing step-by-step visual guidance that enhances comprehension and skill application. Whether you’re a novice or an experienced baker, leveraging these resources can significantly elevate your pie-making expertise.
Importance of Visual Aids
Visual guides feature detailed images and videos that illustrate the intricate processes of pastry-making, like the proper incorporation of butter and flour or the technique behind rolling out dough without tearing. These aids cater to different learning preferences, making it easier to grasp challenging concepts and reduce errors.
Recommended Video Tutorials
For beginners, video tutorials offer a practical demonstration of essential procedures, from ingredient preparation to dough management. Platforms like YouTube host a plethora of pastry technique videos, tailored to specific challenges such as achieving a consistent crust thickness or preventing a soggy bottom pie.
Additional Resources
Beyond videos, consider consulting baking books and online forums. They offer extensive insights into technical nuances and troubleshooting, fostering a deeper understanding and providing the confidence needed to tackle any baking challenge.